For many WordPress site owners, the real problem starts when a contact form says a message was sent, but nothing ever reaches the inbox. This is a common issue, especially on contact form plugins, like Contact Form 7 not sending emails. It often goes unnoticed until leads are missed, support requests are lost, or customers stop waiting for a reply. In many cases, the form itself is working correctly on the page, but the real issue is how WordPress email is being sent behind the scenes through the hosting server.
That is exactly why a proper WordPress SMTP setup matters. WP Mail SMTP plugin helps fix WordPress emails through a real SMTP service instead of the default mail function, which improves delivery and makes form notifications much more reliable. This guide walks through the full process, including the WP Mail SMTP plugin setup, host SMTP details and test email checks. By the end, site owners can stop guessing, fix delivery problems at the source, and trust that contact form messages are actually reaching them.
Configure WP Mail SMTP Plugin
This setup covers the steps most site owners need to follow in order for the WordPress email to work again.
Step 1: Install & Activate WP Mail SMTP
In your WordPress admin dashboard, go to Plugins > Add New, then search for WP Mail SMTP in the plugin directory.

After the installation finishes, click the Activate button.
Step 2: Set the Right From Email and From Name
After activation, WP Mail SMTP usually shows a setup wizard. Users can use the wizard or open the settings directly. Either path works.
This step looks simple, but it has a big impact on whether WordPress email gets delivered and whether recipients trust the message when it lands in their inbox.
In WP Mail SMTP settings, this is where the site owner defines the default sender details for all outgoing emails. If these fields are set wrong, emails may still send, but they are much more likely to land in spam.
From Email
Use an email address that matches your website domain. A good example is [email protected], or [email protected]. This should be a real mailbox or a valid sending address created in the hosting panel or email provider dashboard.

Using a domain-based address makes the message look legitimate to inbox providers. It also keeps branding consistent, which matters when visitors receive replies from contact forms or order notifications. Avoid using free email addresses here, such as Gmail, Yahoo, or Outlook, if the website runs on a custom domain.
That mismatch is one of the most common reasons WordPress email gets flagged or filtered.
From Name
Set this to the business name, website name, or support team name. This is the sender label users see in the inbox before they open the email. Examples include:
- My Business
- My Business Support
- WebsiteName Contact
A clear sender name improves open rates because users recognize who the email is from. It also reduces confusion when contact forms sends admin notifications or auto-replies. If the site has multiple email types, choose a name that still makes sense across all of them.
For example, a general brand name is often better than a very narrow label.
Force From Email / Force From Name

Turn these on if the site uses more than one plugin that sends email. These settings tell WP Mail SMTP to override sender details set by other plugins and use one consistent sender identity instead. This is especially helpful on sites running Contact Form 7, WooCommerce, security plugins, membership plugins, or backup tools, because each one may try to send emails with different sender values.
When sender details change from plugin to plugin, delivery becomes less consistent. Turning on Force From Email and Force From Name keeps everything aligned and reduces conflicts. It also makes troubleshooting easier because all WordPress email uses the same sender settings.
Why this matters for deliverability
Inbox providers look for consistency. If the sending domain, sender address, and DNS records do not match, the email can be treated as suspicious. That does not always mean a hard failure. Sometimes the email is delivered but placed in spam, promotions, or blocked silently. A clean sender setup improves trust signals and gives the SMTP WordPress plugin a better chance of delivering mail correctly.
Step 3: Connect WP Mail SMTP to Your Host or Mail Provider

This is the most important part of the setup because this is where WordPress stops using the default mail function and starts sending email through a real SMTP service instead. Once this step is configured correctly, contact form notifications become much more reliable, and other WordPress email messages like password resets and order emails also have a better chance of reaching the inbox.
WP Mail SMTP supports different mailers, including standard SMTP and provider-based options, so the site owner can choose a setup that matches the host, traffic level, and email volume.
Below we’ll give the details for a host-first approach and shows the “Other SMTP” style setup, which is a good starting point for most sites.
Option A: Use host SMTP credentials
This is usually the fastest way to get WordPress email working again. Most hosting companies provide SMTP details in the hosting dashboard, email account settings, or welcome email. If the details are not easy to find, the host’s support team can usually send them in a few minutes.
Before opening WP Mail SMTP settings, gather the full SMTP login details first. Having everything ready makes the setup smoother and helps avoid failed test emails later.

SMTP Host
This is the mail server address used for outgoing email. It is often something like mail.yourdomain.com, smtp.yourdomain.com, or a host-specific server name.
If the host provides multiple server names, use the one listed for outgoing SMTP. Do not use the IMAP or POP server by mistake, because those are for receiving email, not sending it.
SMTP Port
The port tells WP Mail SMTP how to connect to the mail server. The most common ports are: 587 for TLS and 465 for SSL.
If the port is wrong, the plugin may fail to connect or show a timeout error during the test email step.
Encryption (TLS or SSL)
Encryption protects the connection between the website and the mail server. This is a standard part of SMTP setup and should always be turned on if the host supports it. If the host gives only one option, use exactly what they provide. Mixing the wrong port with the wrong encryption is one of the most common setup mistakes.
SMTP Username
This is usually the full email address created for the website, such as [email protected]. Some hosts use a different username format, but the full email address is the most common.
SMTP Password
This is the password for the email account used to send messages. If the password was recently changed in the mail panel, update it in WP Mail SMTP right away.
Save the settings. The last step should always be a test email. That confirms the connection works before testing your page contact form.
Option B: Use a dedicated mail service instead of shared hosting SMTP
This is usually the better option for business WordPress sites, online stores, and websites that send a lot of email. Shared hosting SMTP can work well for small sites, but it often has limits, slower delivery, or weaker inbox placement compared to dedicated email services.
For a site that depends on leads or customer communication, this is often the safer long-term setup.
Many WordPress site owners use one of these services:
- Mailgun
- Microsoft 365 / Outlook
- Gmail / Google Workspace
- Amazon SES
- Brevo
WP Mail SMTP supports several of these directly, which means setup can be easier than manual SMTP in some cases. Some providers connect by API, while others can be used through SMTP login credentials. Select the one you use the most and add your login credentials.
Step 4: Send a Test WordPress Email Before Touching the Form
A lot of people skip this. We recommend to do it. WP Mail SMTP includes a built-in email test tool. WP Mail SMTP docs say users can open WP Mail SMTP > Tools > Email Test to send a test message.
Once the SMTP test email works in WP Mail SMTP, the next step is to test the actual form on the site. This matters because a successful SMTP connection only confirms that WordPress can send email. It does not confirm that contact form is passing the right fields, sender details, and reply settings.
Open the page where contact form is live. Use the same form a visitor would use. Submit a real message from the front end so the check matches a real user action.
Final Words on WP Mail SMTP Plugin Setup
A reliable WordPress SMTP setup is one of those fixes that seems minor until a contact form stops delivering emails and real inquiries start disappearing. That is why this setup is worth doing early, not after a missed booking, missed sale, or missed client message.
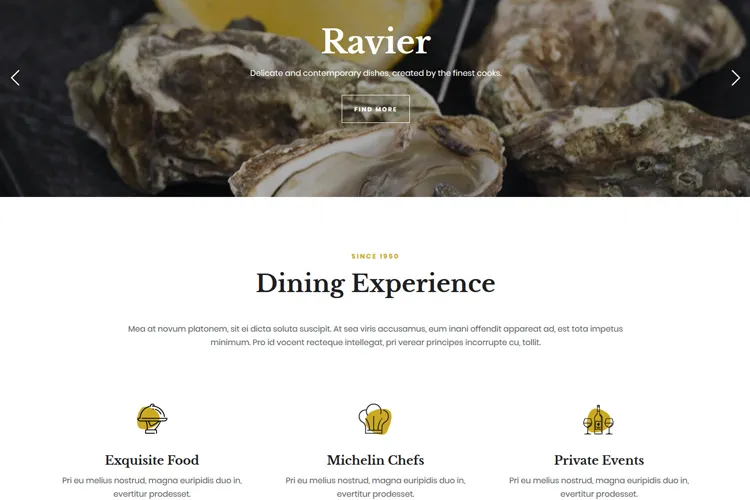
With email delivery handled the right way, the next step is improving how the site looks and converts. If the site serves food, bookings, or local dining, a stylish restaurant WordPress theme is a smart place to start for a stronger design and better user flow. If the site is portfolio-based or image-heavy, the photography WordPress theme is the better fit for showcasing work cleanly and professionally.
A fast theme and a reliable SMTP setup work well together, and both help turn more visitors into real customers.

